How to Fight: Part 2
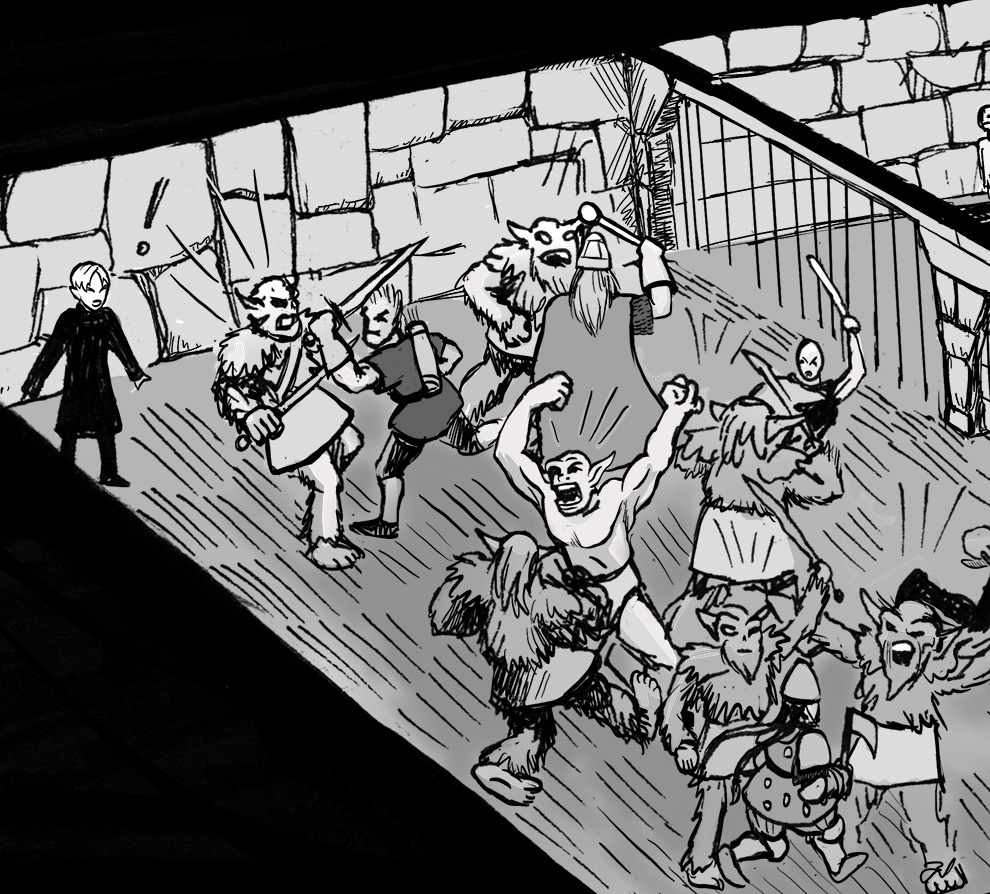
Action Scenes! Now that you have the basic lowdown of how I set up my combat round, I’m going to add what I consider intermediate rules that can be plugged into the basic combat round. The Combat Round sequence changes to separate movement from the action. This puts the Combat round more in line with miniatures games and makes for more dynamic play when using them. I will also list out my rules for wounds and critical hits, and add some of the movement, combat maneuvers, and range combat rules. The intention for this part of the rules is to get more detailed in a fight and add more crunch. Sometimes you want to add more detail to an important fight or you become so used to the basic set of rules this add-on is needed to keep things spicy. The intention with these rules is for a more cinematic experience. After this I will go into how I deal with large skirmishes and drop a lot of this detail so you can still have a fun experience. But in that case, movement rules are more important and more rules are detailed there.
Changes to Initiative
Allow for individual initiative. Because individual initiative can allow for many things to happen at the same time, roll a d12 instead of a d6. Ties are still simultaneous. High rolls still go first. My general rule of thumb is to allow for individual initiative only when it’s the party vs. a single opponent. If there is the party verses a large force, I still stick to the d6 roll for the group for each side because it keeps things much simpler. When there’s individual initiative the Dexterity bonus or minus of the character effects the initiative roll.
Changes to the Turn Order
The movement phase is no longer grouped in with the attacking or action phase. This means that attackers can move and then attack. Movement is no longer a binary decision, but now the character and monster moves must be accounted for. You can still keep track of this without miniatures, but in an important battle, minis can start to become useful. The new turn order looks like this:
Advanced Combat Round
- Initiative: Each character or group rolls to determine who attacks first
- the highest roll has the first turn, followed sequentially in descending order.
- tie rolls means actions happen simultaneously
- declare actions:
- Move or Opportunity Fire
- Move and/or Attack
- Move and/or Magic Spell
- Move and/or do something else
- Do nothing, etc.
- Movement Phase
- move in initiative order
- execute opportunity fire
- morale checks to rally
- Combat Phase
- attack in initiative order
- ranged attacks
- Choose target
- Roll to hit
- Calculate for critical hits and misses.
- If you hit apply damage
- cast spells / use magical items
- hand to hand
- Choose target
- Roll to hit
- Calculate for critical hits and misses.
- If you hit apply damage
- Do the other thing!
- covers every odd other thing the players can come up with.
- Resolution
- Dungeon Master applies any ongoing effects
- morale checks
- save vs. death for hit point loss
- Round is over, if there’s still a fight, go back to step one!
Opportunity Fire!
When a attacker want to wait to see what happens, an attacker can choose to not move, and lie in wait. This is usually an opportunity fire with a range weapon, but it can also be other sort of entrapping actions like pulling a trip line or dropping a net. Standard to-hit rolls apply and this does not necessarily effect the attack phase either. Yes, it means an archer can shoot twice a round if standing still. It also means a character can toss vial of oil and light it in the same round as well if he holding a fire source.
Changes to Morale
Morale is no longer a fail and flee situation. A failed morale check means the opponent becomes shaken. A shaken opponent can not initiate combat, but it can continue to fight if it is already in one. Also, a shaken opponent cannot advance towards an enemy, it can retreat or stand still. Another successful morale check during the rally phase is necessary to get the character back into a good morale standing and can behave normally again. The morale check during the rally phase does not count as a second morale failure, a failed morale check during the rally phase only means the opponent remains shaken. If a shaken opponent has cause to make another morale check and fail, then the opponent had failed morale and will flee, drop to it’s knees and beg for mercy, etc., and the usual appeals for the PC’s mercy can be tested.
Critical Hits and Misses
Two options, double damage for a hit and missing a turn for a miss for the simple route, or you can roll on the following charts. These charts is an extension of the rules from a very early Dragon magazine. These charts have the chance to be extremely life altering for the PCs, including instant kills. So if it is agreed at the table that we will use these charts, I change the probability of a critical success to the following formula: After using THAC0 to calculate the minimum roll needed to hit, if you hit successfully, then the difference between what you rolled and what you need to hit is the percentile chance of a critical hit. Using this rule, a 20 is just an automatic hit and a 1 is only an automatic miss. For determining a critical fumble the same formula is applied, the percentage is the difference between what you rolled and what you needed to roll in order to hit them. We started rolling a d20 and a percentile dice at the same time for every attack. The charts are here.
PAIN
This is a rule set that I used quite a bit in my original campaign. These rules are adapted from a Dragon Magazine article. It adds crunch to each attack, so at first we decided for each fight if we were going to use it, but after we got used to the rules, we just applied it all the time. Every character has a pain threshold and wounds sustained work against that threshold. HP loss is still sustained, but it’s luck, fatigue, and willpower that is fading if there are no injuries sustained. This is super crunchy, feel free to ignore. The rules we used are here.
But There’s More!
There are more rules that we used in the end that was the limit of how complicated we made combat for players. The upper bound of complexity for our rules included Armor Value, BECMI Unarmed Combat, Combat Maneuvers and Weapon Mastery. If you want maximum crunch read these rules we used here.
